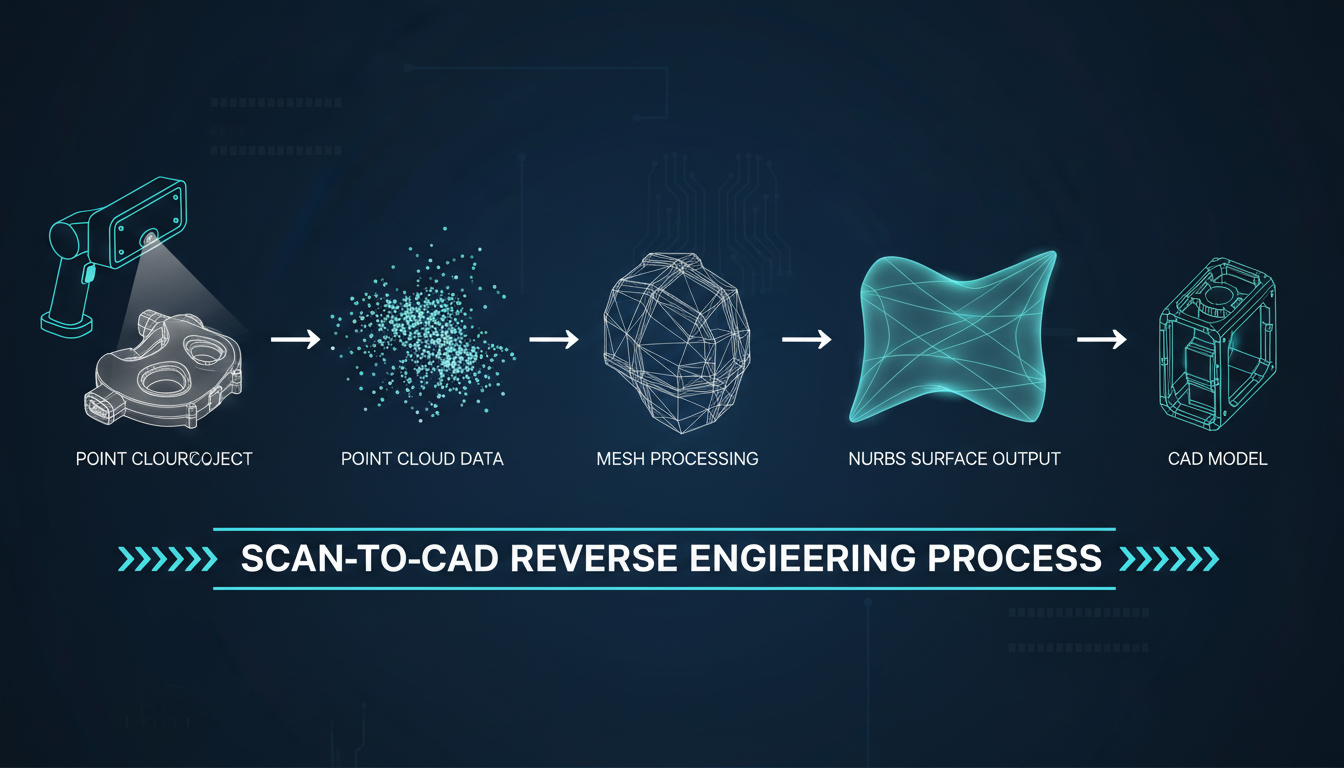
Workflows
Start from what you have — a scan, a mesh, a sketch, or a solid — and follow the workflow to the result you need.
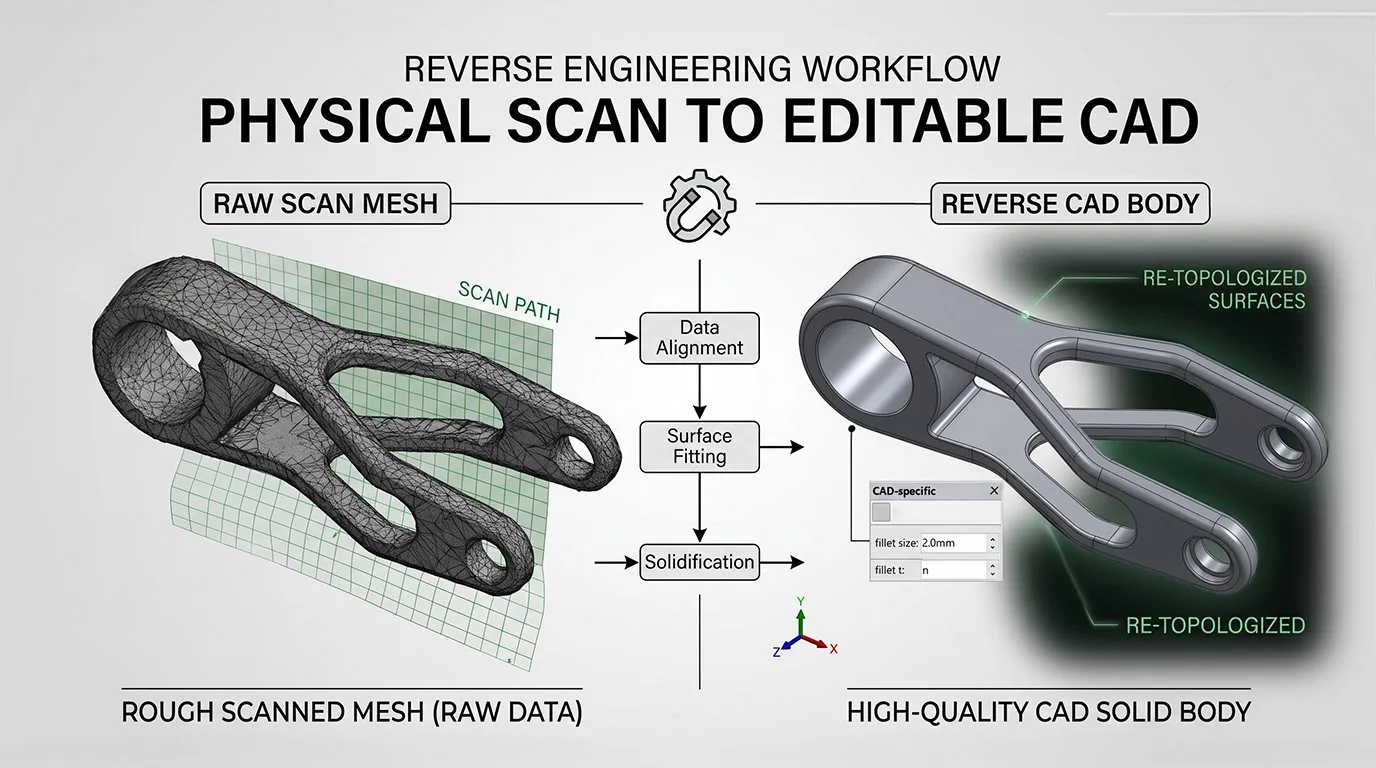
Reverse Engineering Mechanical Parts
You have: A physical part or a 3D scan mesh
You get: An editable, manufacturable CAD solid
Recommended: Power Surfacing RE Studio
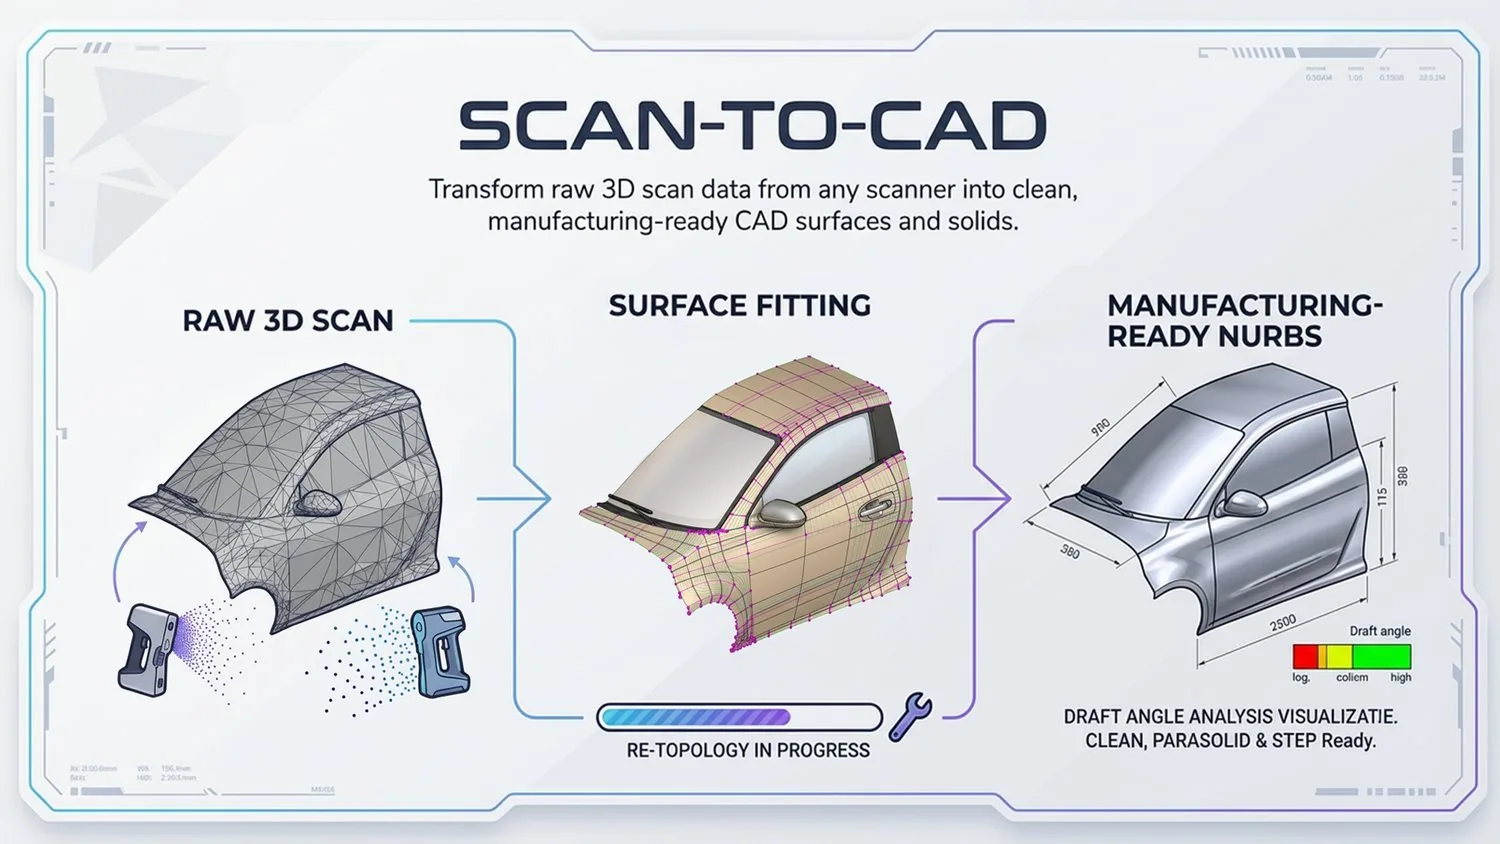
Scan-to-CAD
You have: Raw 3D scanner data (STL, OBJ, point cloud)
You get: Clean NURBS surfaces and solids
Recommended: Power Surfacing RE Studio
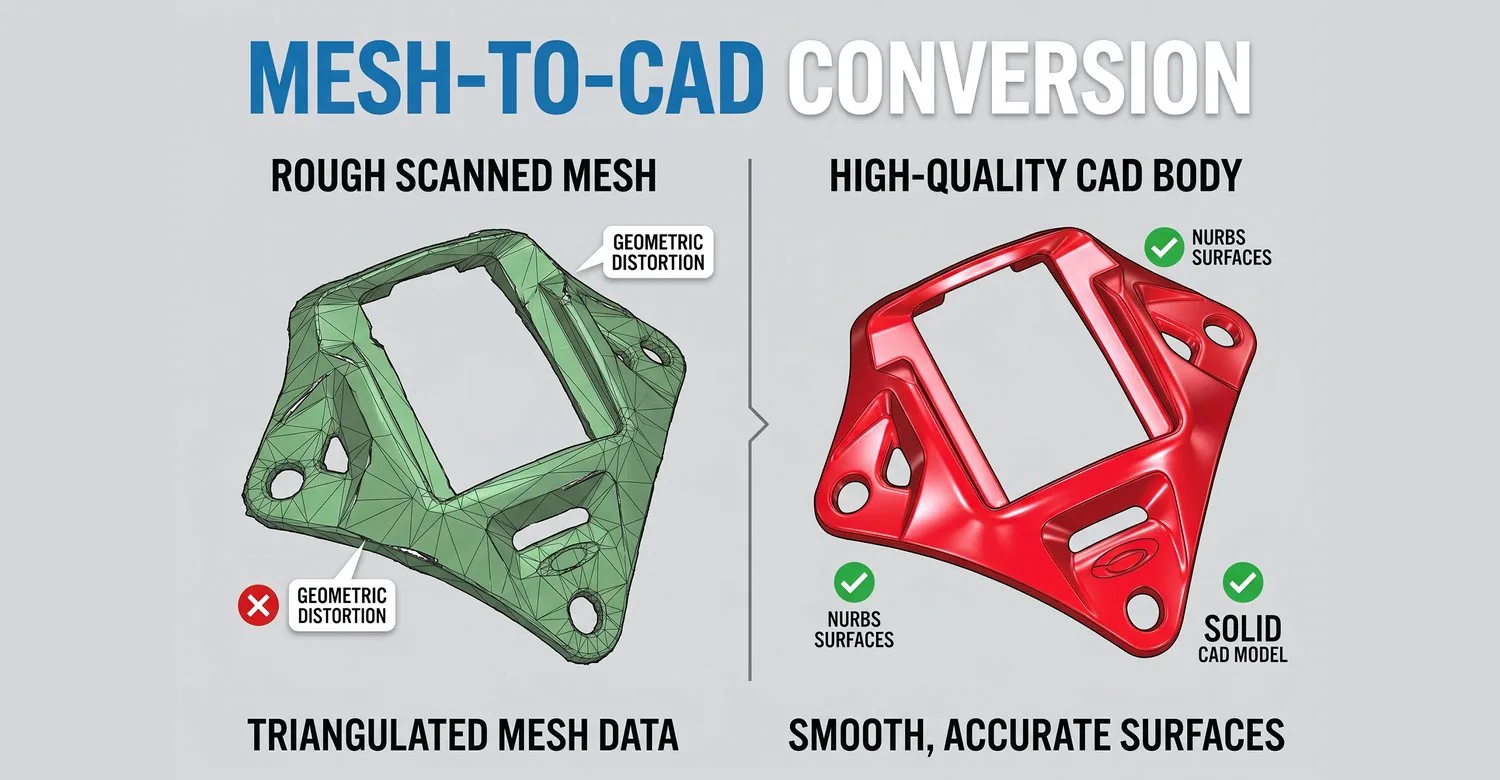
Mesh-to-CAD
You have: A triangulated mesh (STL or OBJ)
You get: A smooth NURBS CAD model
Recommended: Power Surfacing RE Studio
STL to Editable CAD
You have: An STL or OBJ mesh file
You get: Editable CAD solids exportable to STEP
Recommended: Power Surfacing RE Studio
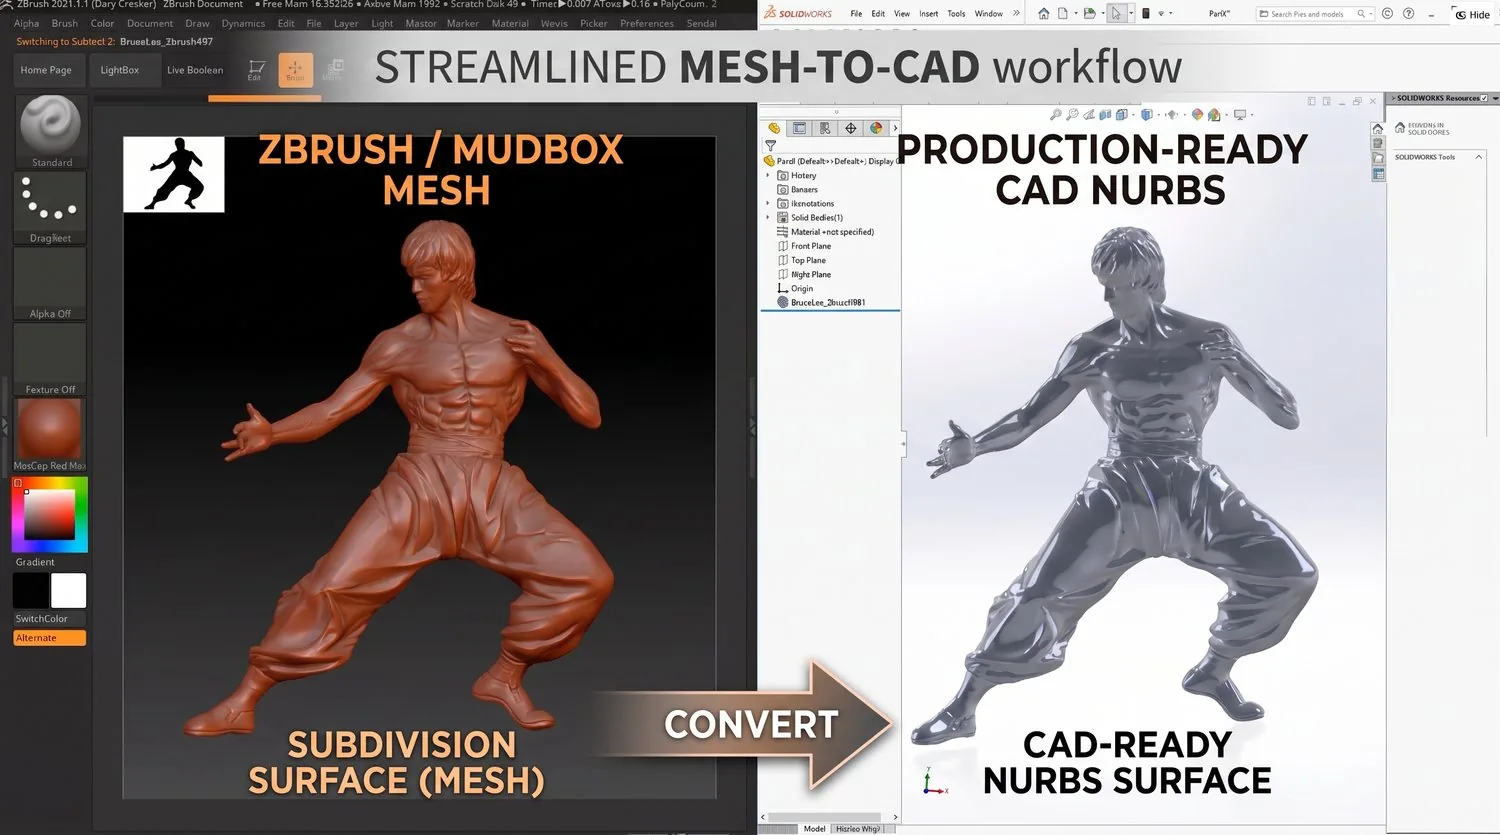
ZBrush / Sculpted Mesh to CAD
You have: A ZBrush or other sculpted mesh
You get: Production-ready NURBS CAD surfaces
Recommended: Power Surfacing RE for SOLIDWORKS
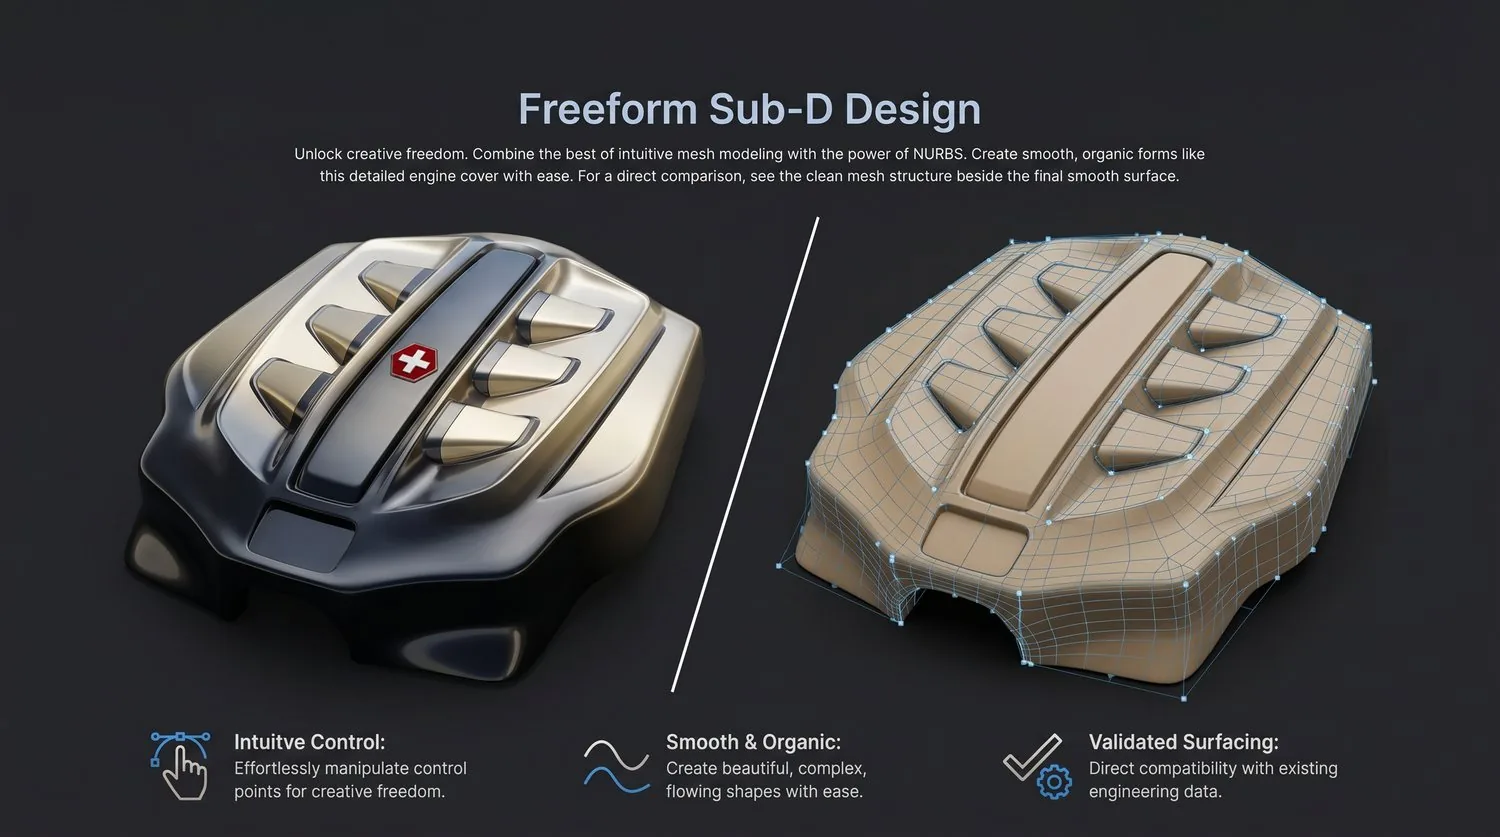
Freeform Sub-D Design
You have: A freeform or organic design idea
You get: Smooth Class A Sub-D surfaces as NURBS
Recommended: Power Surfacing Studio
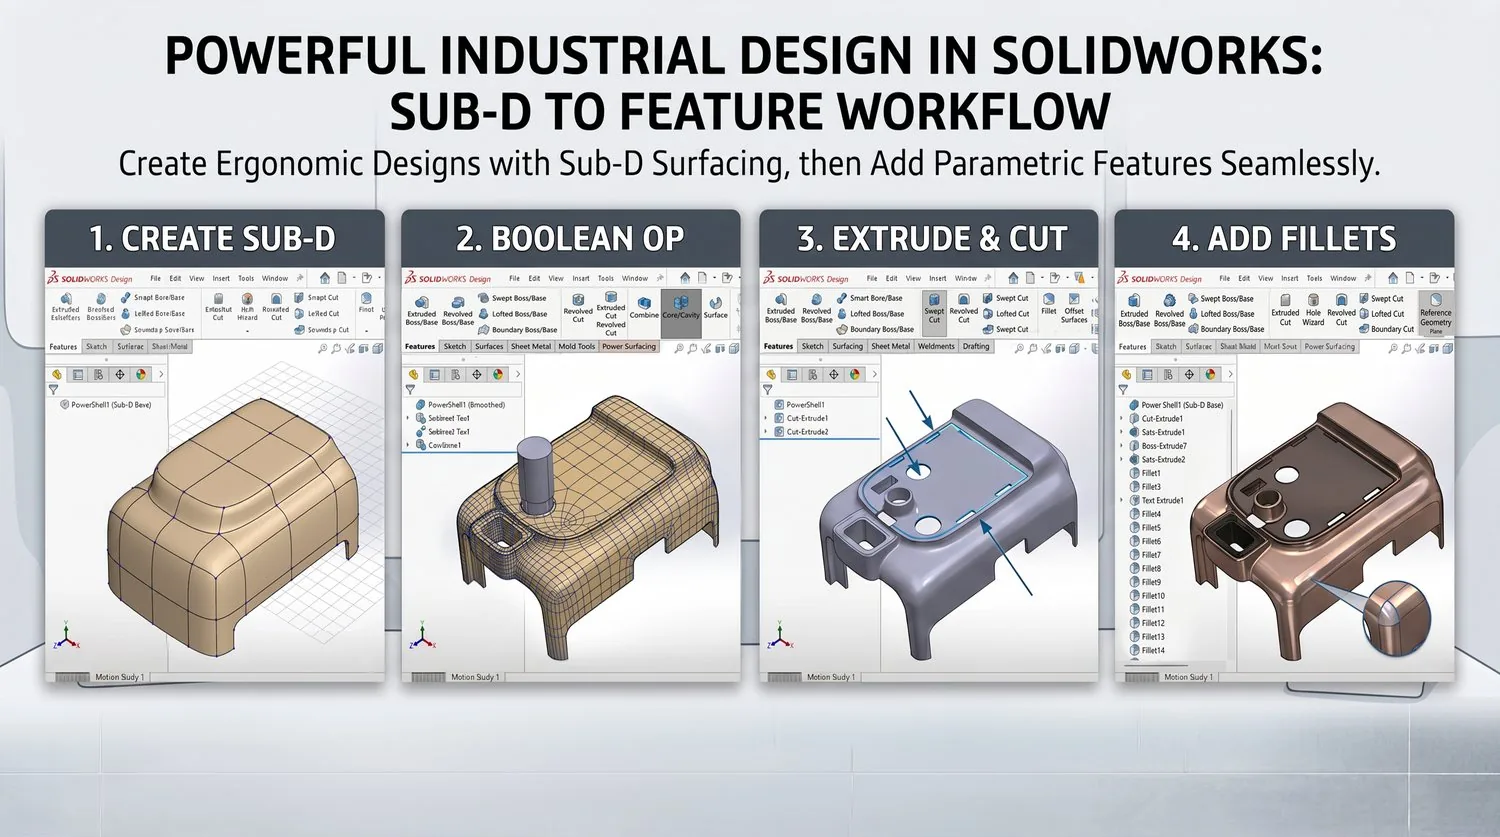
Industrial Design in SOLIDWORKS
You have: A SOLIDWORKS part or assembly
You get: Organic Class A surfaces in your feature tree
Recommended: Power Surfacing for SOLIDWORKS
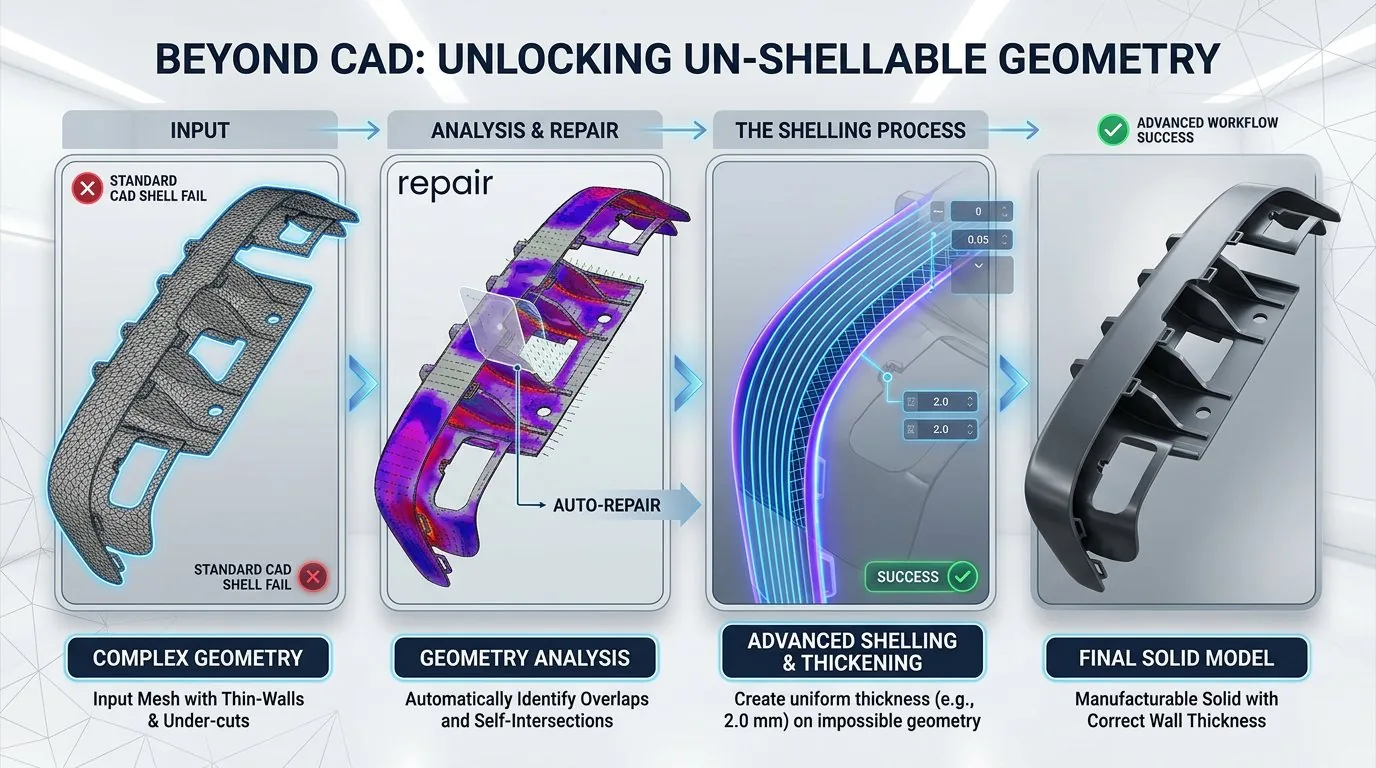
Shelling and Thickening
You have: A complex solid or surface body
You get: A shelled or thickened part with clean walls
Recommended: Power Shell for SOLIDWORKS (also included in Power Surfacing Studio and Power Surfacing RE Studio)
See These Workflows in Action
Watch video demos and tutorials showing real-world applications of Power Surfacing workflows.